Home
Courses
Communities
Resources
Events
Gallery
Sign up
Login
🇺🇸 EN
Cart
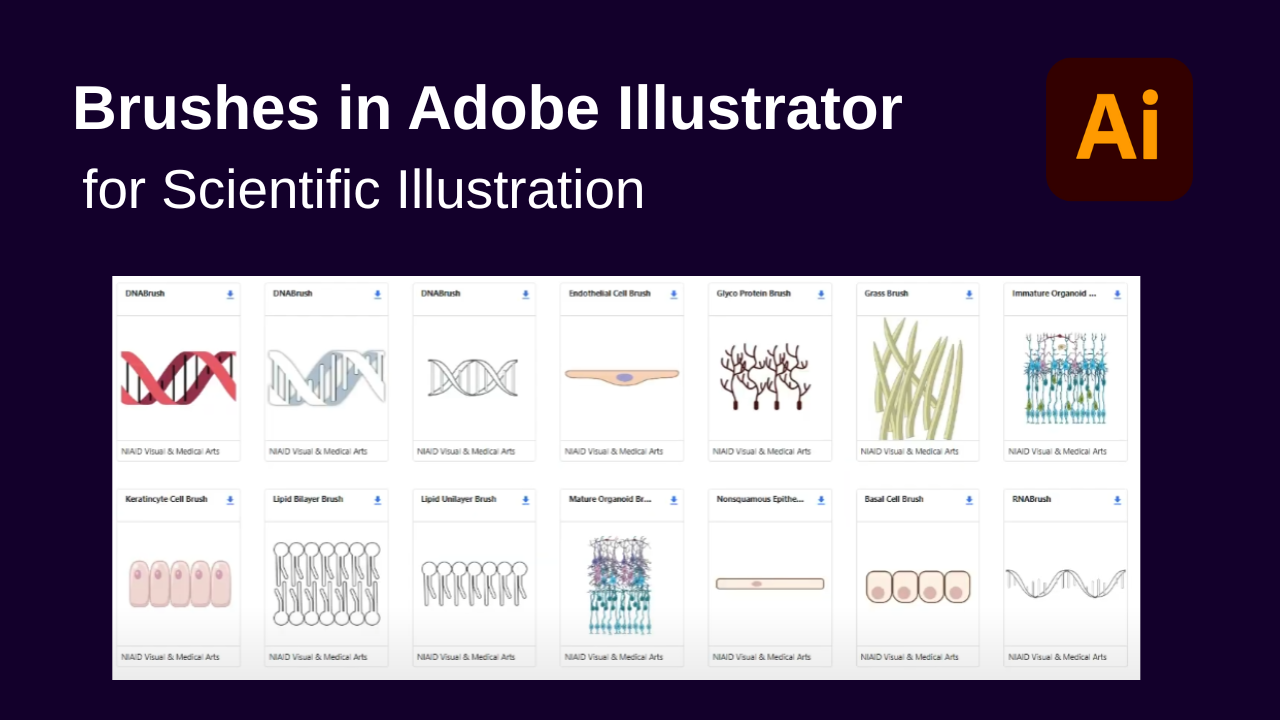
Adobe Illustrator Brushes for Scientific Illustrations
1. Adobe Illustrator Brushes for Scientific Illustrations
1. What Are Brushes in Adobe Illustrator?
2. How to Download and Use Brushes
3. Creating Your Own Custom Brushes
4. Why Brushes Are Essential for Scientific Illustrations
5. Final Thoughts
Adobe Illustrator Brushes for Scientific Illustrations
Rafeeque Mavoor
3 minute read
Related Posts
No Posts Found