Home
Courses
Communities
Resources
Events
Gallery
Sign up
Login
🇺🇸 EN
Cart
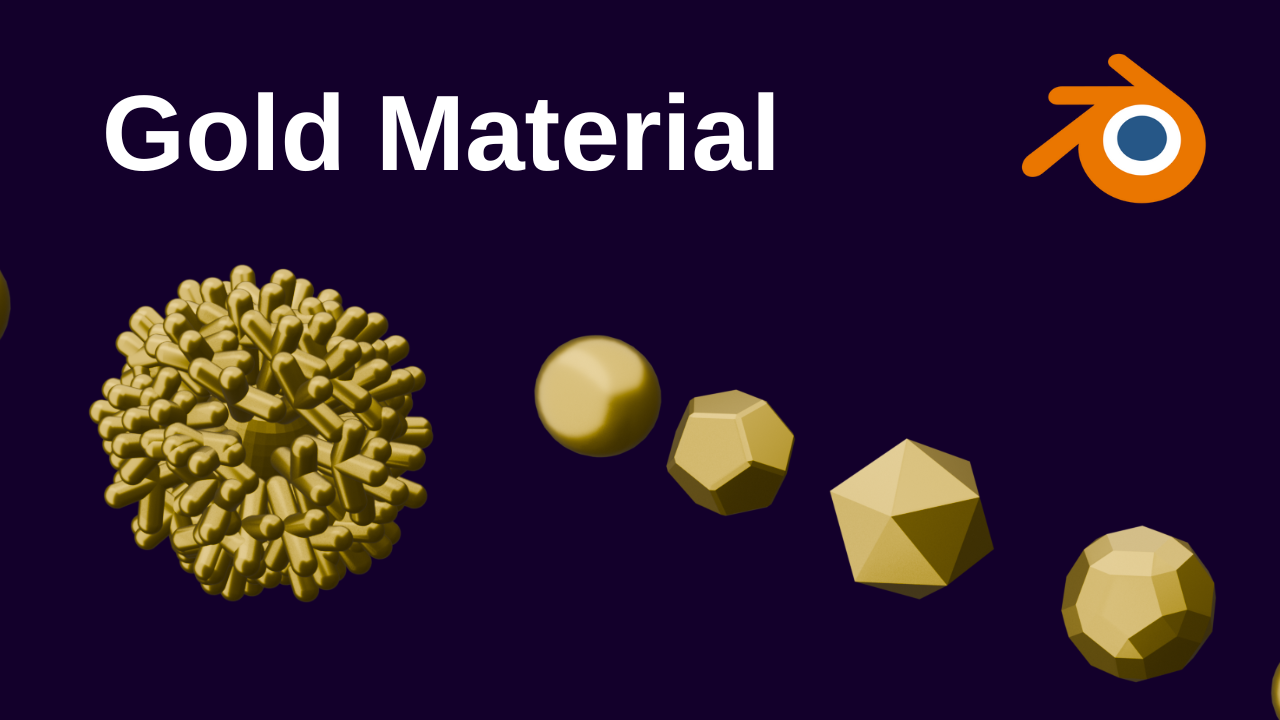
Create Gold Materials in Blender: A Step-by-Step Guide
1. Step 1: Setting Up Your Object
2. Step 2: Enhancing the Gold Look
3. Step 3: Adding Texture with the Shader Editor
4. Step 4: Optimizing Lighting and Render Settings
5. Step 5: Rendering Your Gold Material
6. Key Takeaways for Blender Gold Creation
7. Conclusion
Create Gold Materials in Blender: A Step-by-Step Guide
Rafeeque Mavoor
6 Jul 2025
4 minute read
Related Posts
No Posts Found