Home
Courses
Communities
Resources
Events
Gallery
Sign up
Login
🇺🇸 EN
Cart
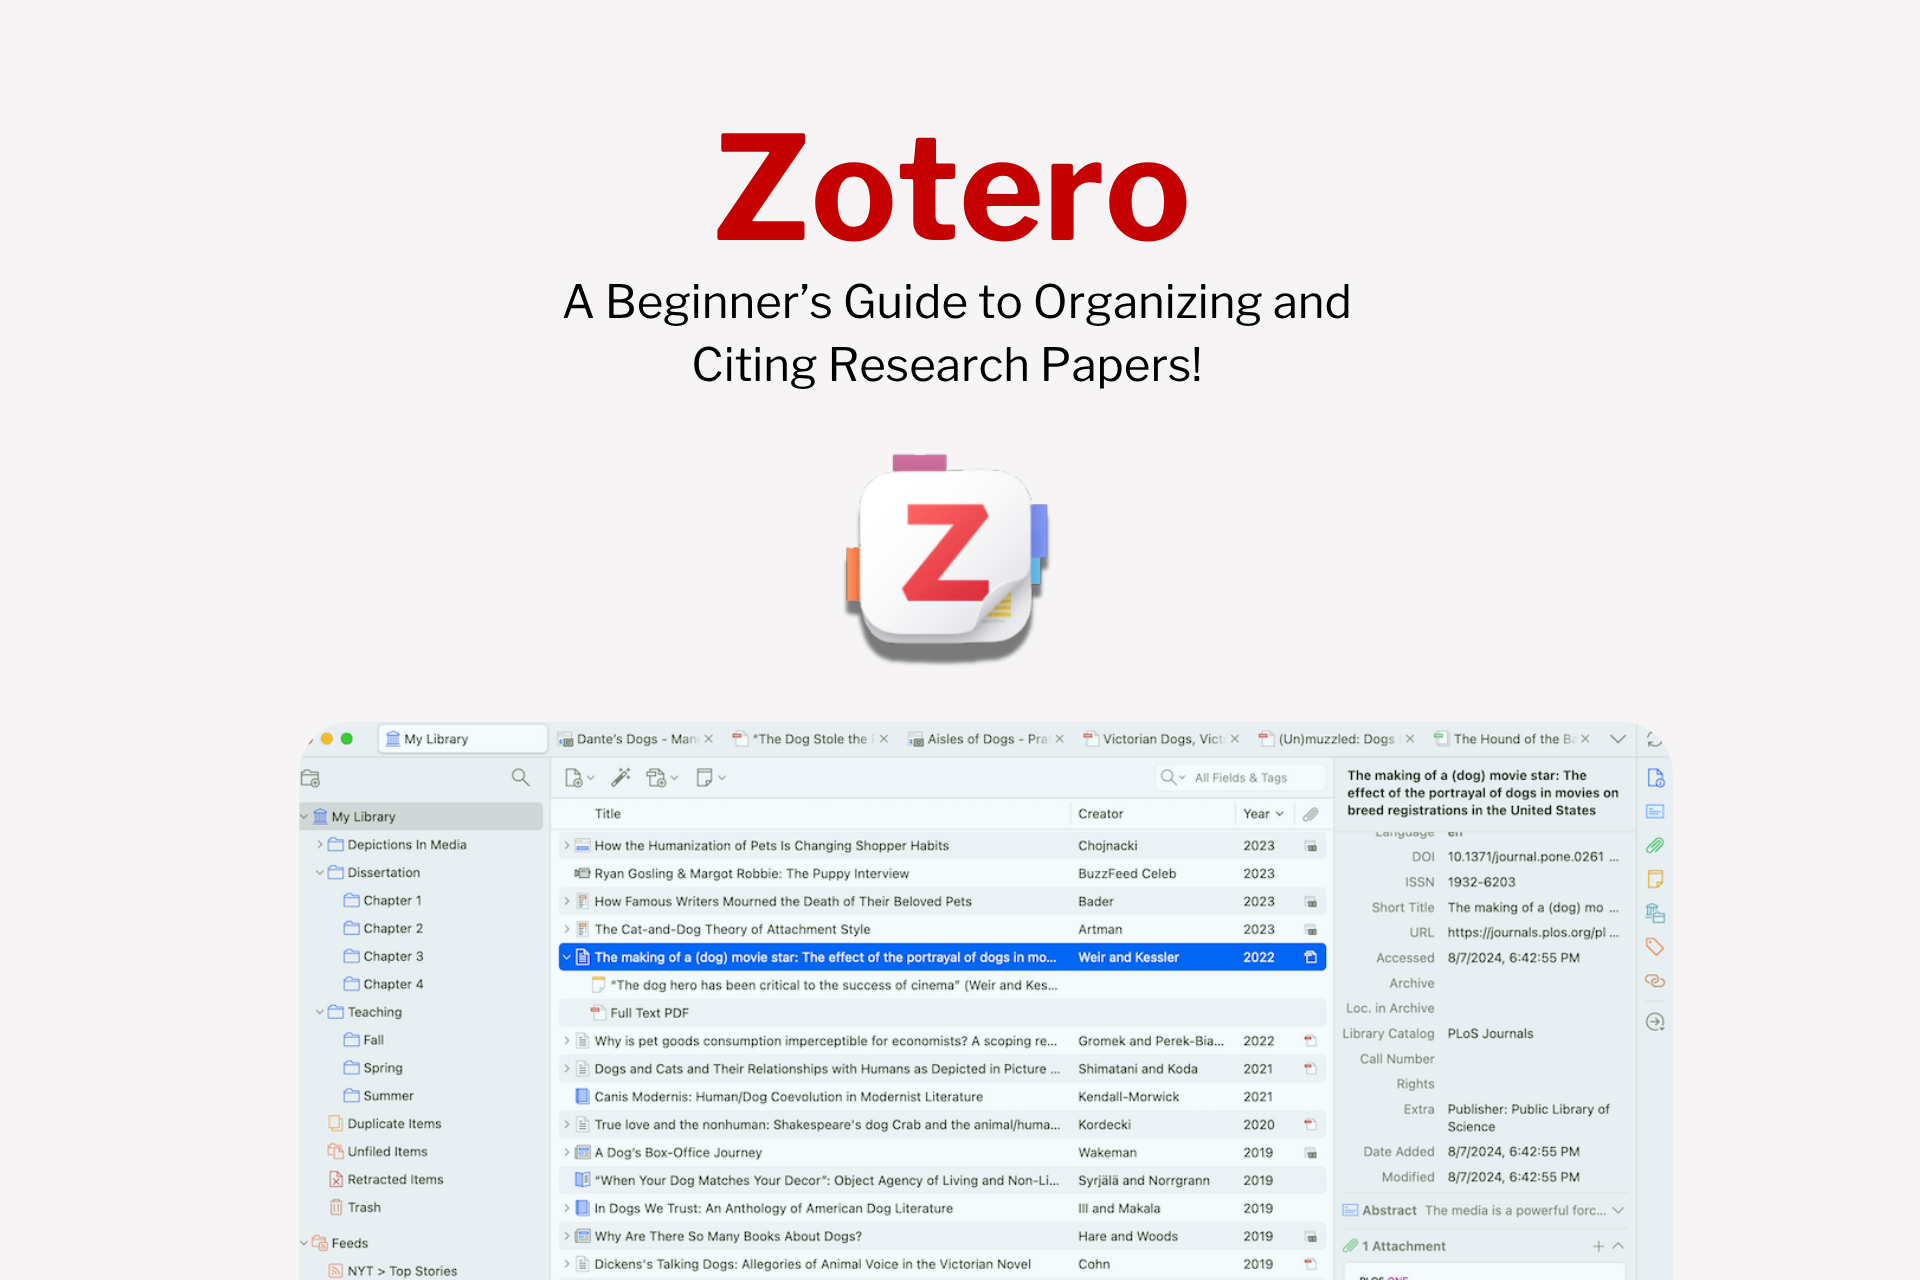
Zotero Tutorial: A Comprehensive Guide to Reference Management for Scientists and Engineers
1. Introduction: What is Zotero and how to use it?
1. 1) Downloading and Installing Zotero
2. 2) Overview of Zotero’s User Interface
3. 3) Easy to access toolbar option in Zotero
4. 4) Adding References to Zotero (Manually, by Identifier, and via Zotero Connector)
5. 5) Organizing References with Collections and Subcollections
6. 6) Identifying and Merging Duplicate Items
7. 7) Using Zotero with Microsoft Word: Inserting Citations and Bibliographies
8. 8) Changing and Adding Citation Styles in Zotero
9. 9) Refreshing, Changing, and Unlinking Citations (Advanced Document Operations)
10. 10) Best Practices and Productivity Tips for Zotero Users
Zotero Tutorial: A Comprehensive Guide to Reference Management for Scientists and Engineers
14 May 2025
30 minute read
Related Posts
Free Tools for Science Researchers published by Scidart Academy
23 Nov 2025
Convert Research Papers into Interactive Mind Maps with Free Tools
5 Jul 2025
Enhance Your Academic Research with Elsevier Researcher Academy’s Free Resources
4 Feb 2025